Select a product on the left to view its quick start guide.
SSG Dashboard Display DV-5 Quick Start Guide
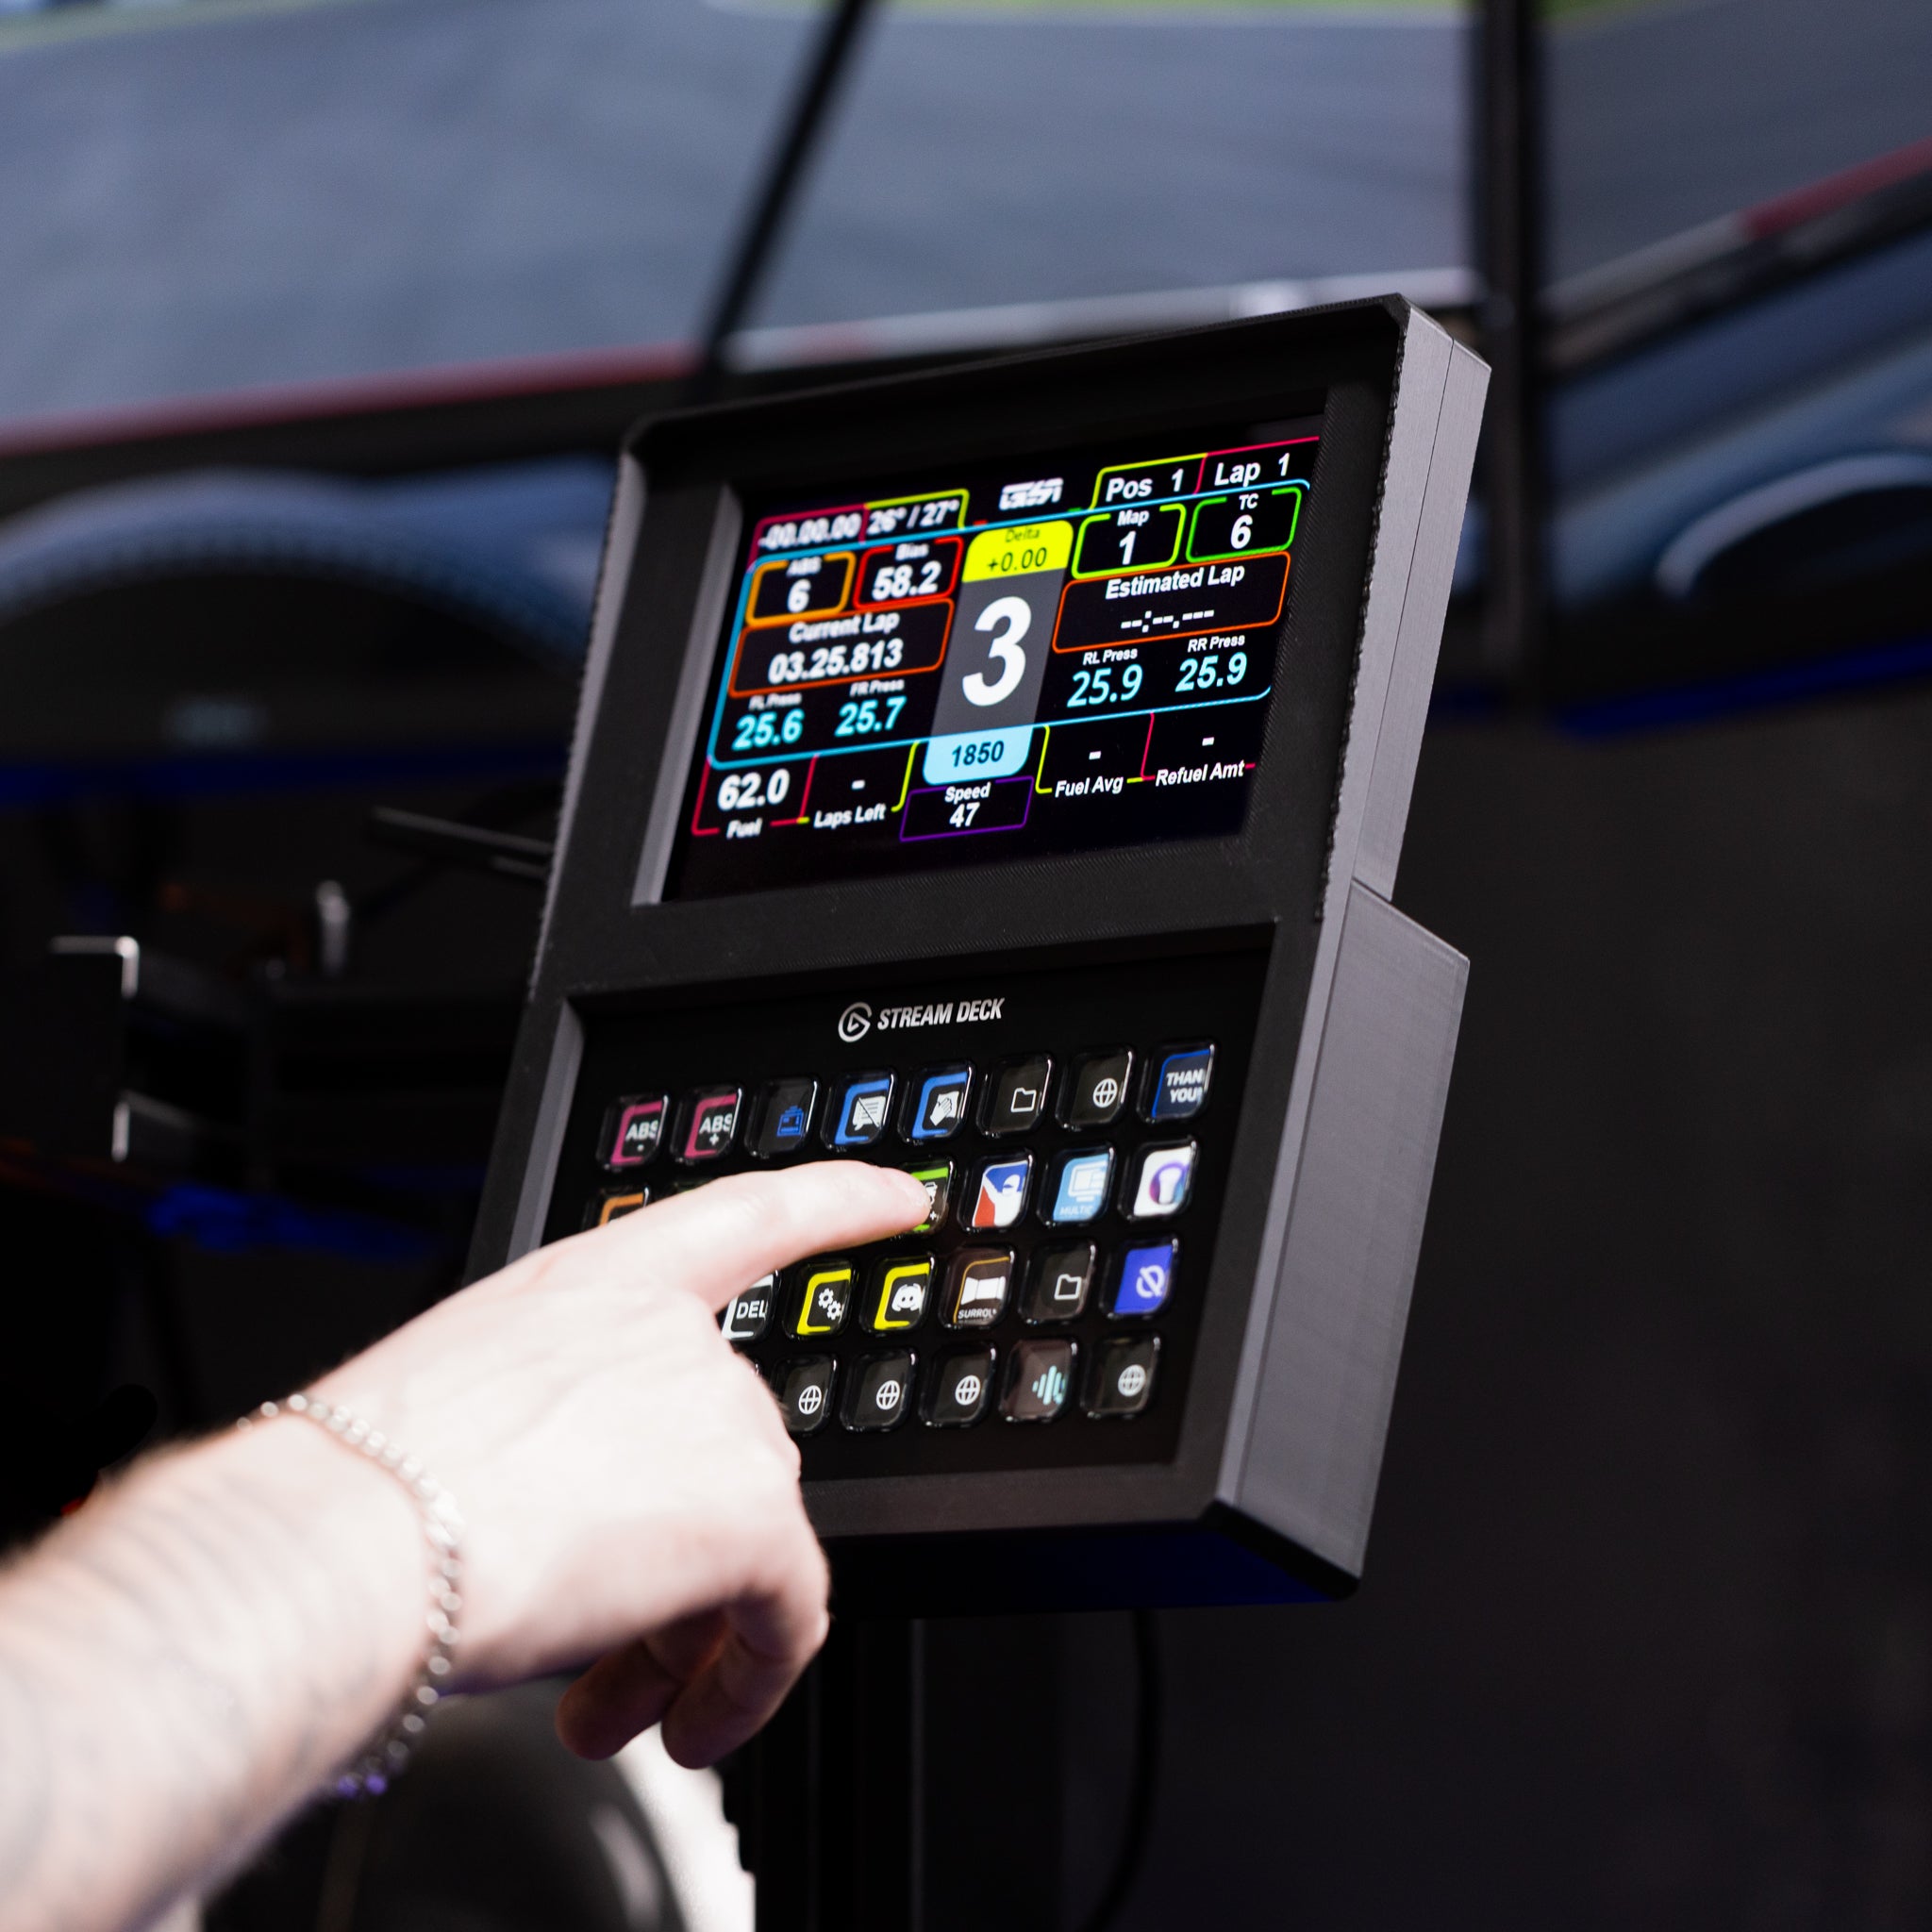
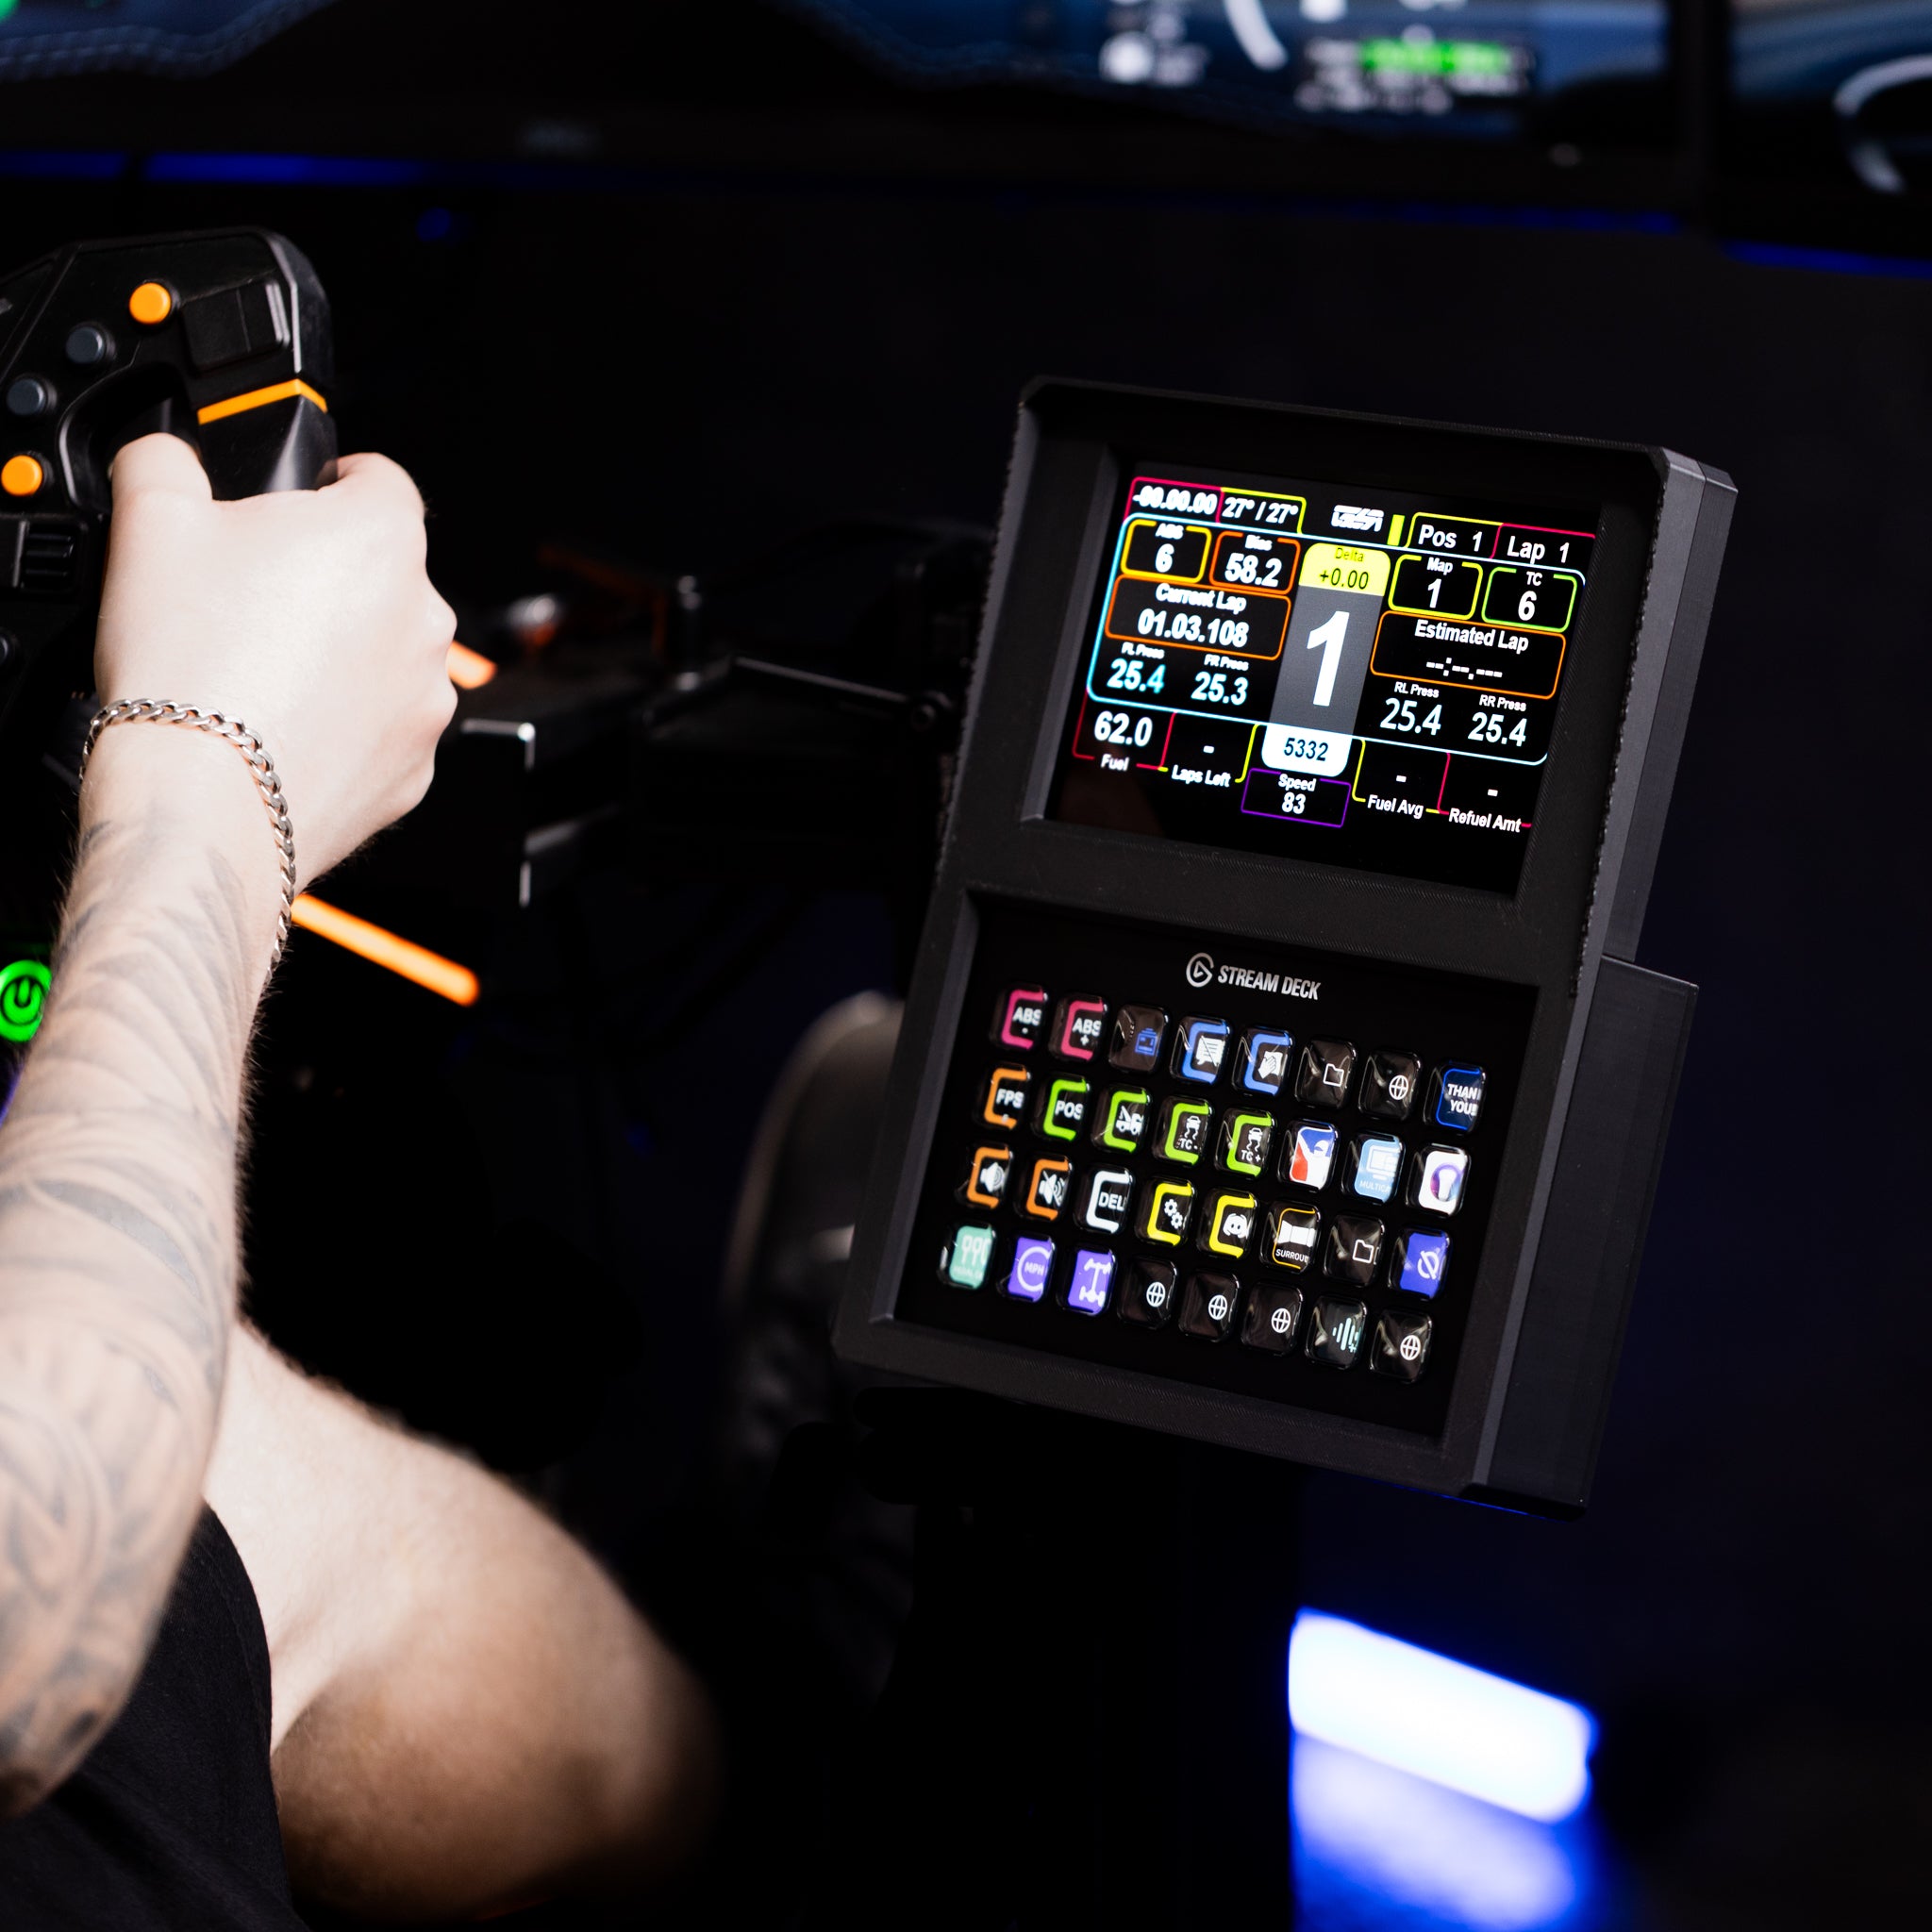
This guide explains how to set up your DV-5, connect it to SimHub, and install your complimentary DNR Premium dashboard profiles.
In this guide:
1. What's in the box?
- SSG Dashboard Display DV-5
- USB-A to USB-C cable
- Mounting hardware
- DNR Premium access code card
Keep your DNR access code card handy. You will need it in section 3.
2. SimHub setup
-
Download and install SimHub. SimHub is free software that sends telemetry from your simulator to the DV-5. Download the latest version from simhubdash.com and run the installer.
Screenshot placeholder: SimHub download page
Connect the DV-5 to your PC. Plug the included USB cable into the DV-5 and into a USB port on your computer. The display powers on automatically. No HDMI cable or external power supply is needed.
-
Open Dash Studio. Launch SimHub and click Dash Studio in the left sidebar. The DV-5 appears as a connected screen device. If it does not appear, try a different USB port.
Screenshot placeholder: Dash Studio with the DV-5 detected
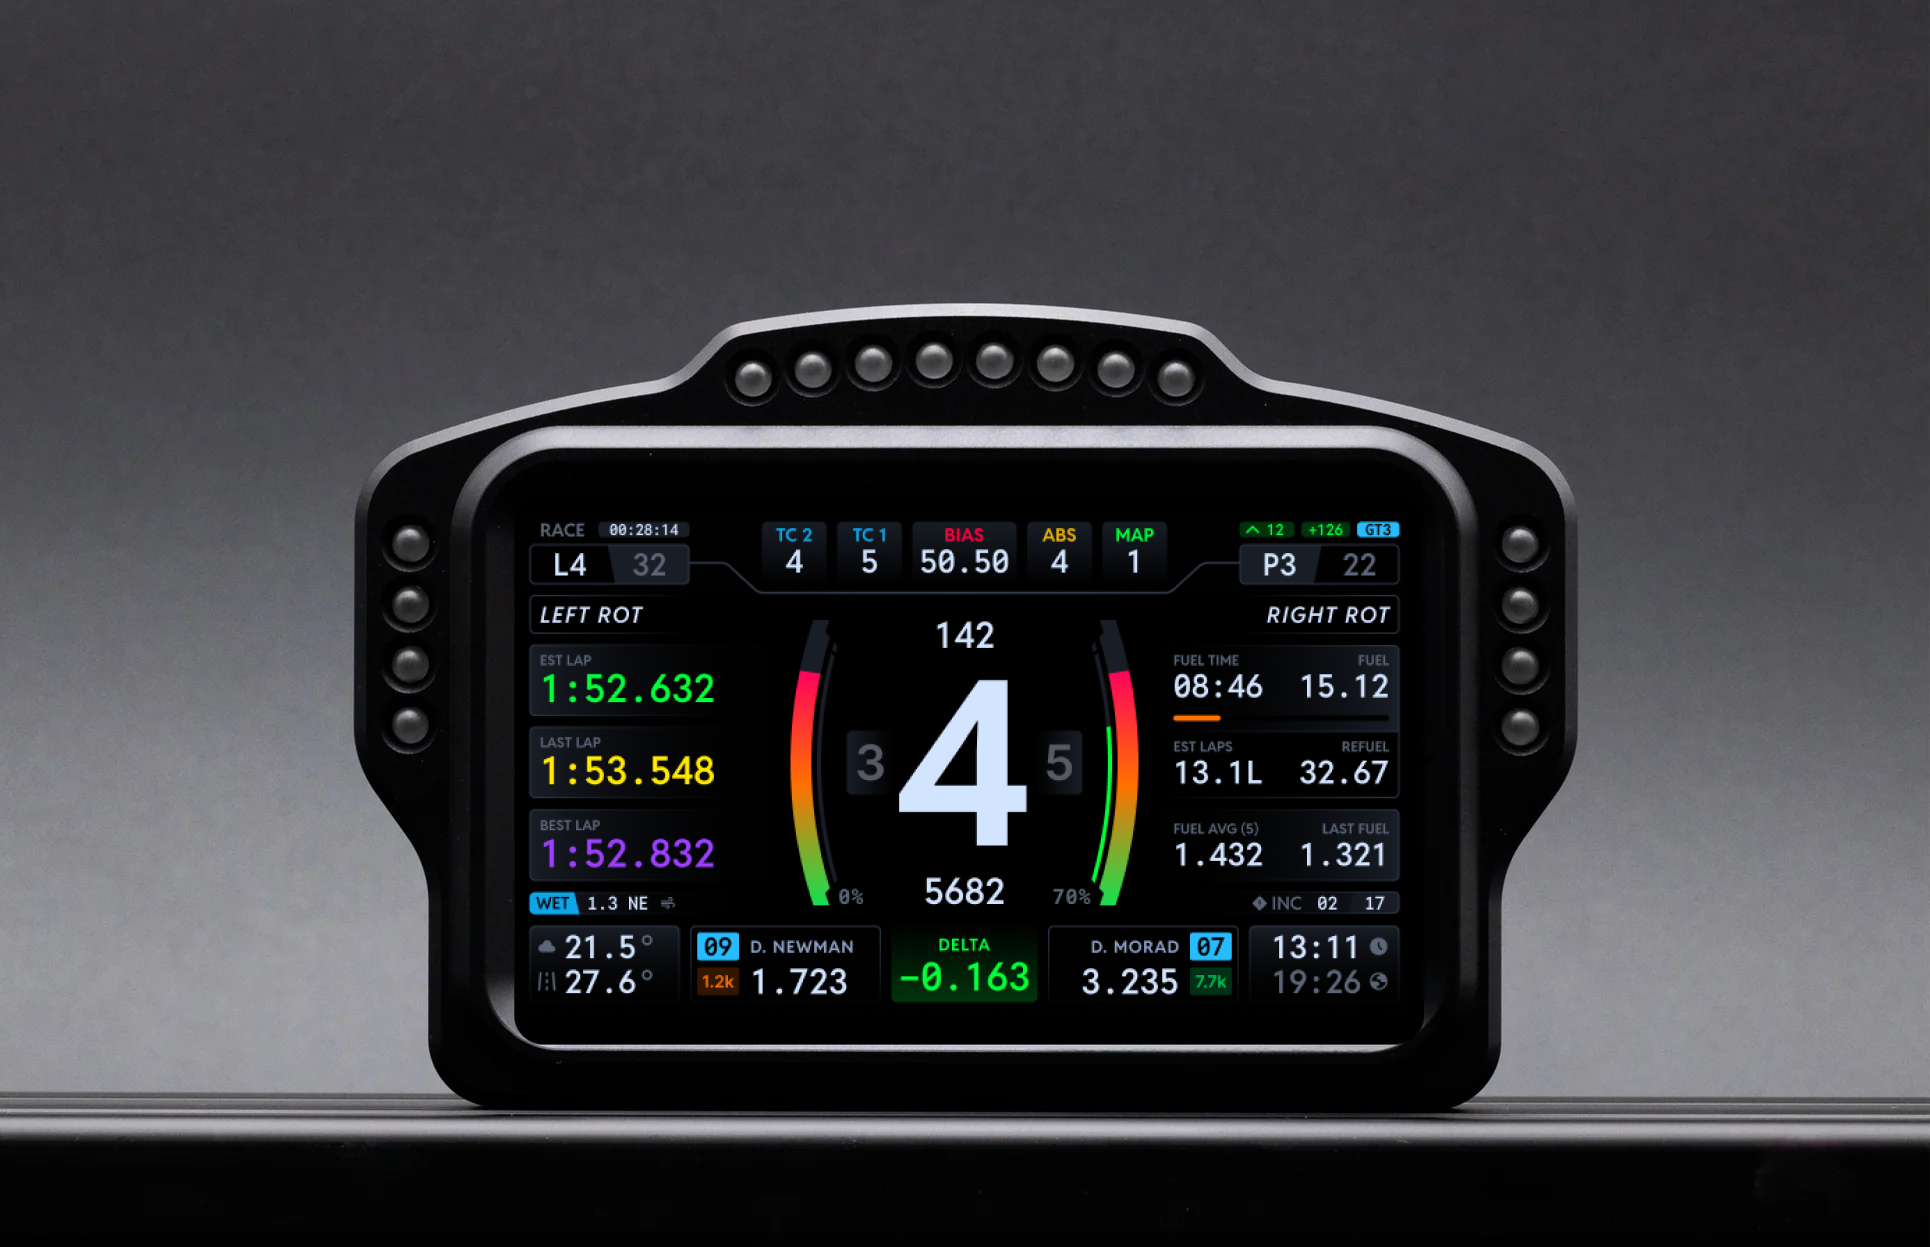
Set the screen resolution. Select the DV-5 in the device list and set the resolution to 800 x 480. Enable the option to start the screen automatically with SimHub.
-
Load a dashboard. Click Add Dashboard and choose a template from the built in library, or import a downloaded dashboard file. Then click Apply to Screen and choose the DV-5.
Screenshot placeholder: applying a dashboard to the DV-5
Test with your simulator. Launch your sim and join a session. Telemetry appears on the DV-5 right away.
3. DNR profile setup
DNR Premium dashboards are included free with every DV-5 and are optimized for its 5 inch display.
Create a DNR account. Register on the DNR website with your email address.
-
Redeem your access code. Log in, open the redeem code section of your account, and enter the code from the card included in your DV-5 box. Your account is upgraded to Premium immediately.
Screenshot placeholder: DNR redeem code screen
Download the DV-5 dashboard pack. In the DNR dashboard library, search for SSG DV-5 and download the pack.
-
Import the profiles into SimHub. Extract the download. In Dash Studio, click Import and select the dashboard files. They appear in your dashboard library, ready to apply to the DV-5.
Screenshot placeholder: importing DNR dashboards into SimHub
Apply and customize. Apply your chosen DNR dashboard to the DV-5. You can adjust data fields, colors, and layout in the SimHub editor at any time.
4. Troubleshooting
The display is not detected by SimHub.
Try a different USB port, ideally one directly on your motherboard rather than a hub. Make sure SimHub is installed before connecting the display.
The screen stays blank during a session.
Confirm SimHub is running and that your game is supported and detected. Check that a dashboard has been applied to the DV-5 screen.
Touch input is not responding.
Enable touch input for the DV-5 in the SimHub screen settings.
Still stuck?
Contact us with your order number and we will help you out.
Related: DV-8 Quick Start Guide · DF-8 Quick Start Guide · DV-5 product page
SSG Dashboard Display DV-8 Quick Start Guide
This guide explains how to set up your DV-8, connect it to SimHub, configure the RGB LED light modes, and install your complimentary DNR Premium dashboard profiles.
In this guide:
1. What's in the box?
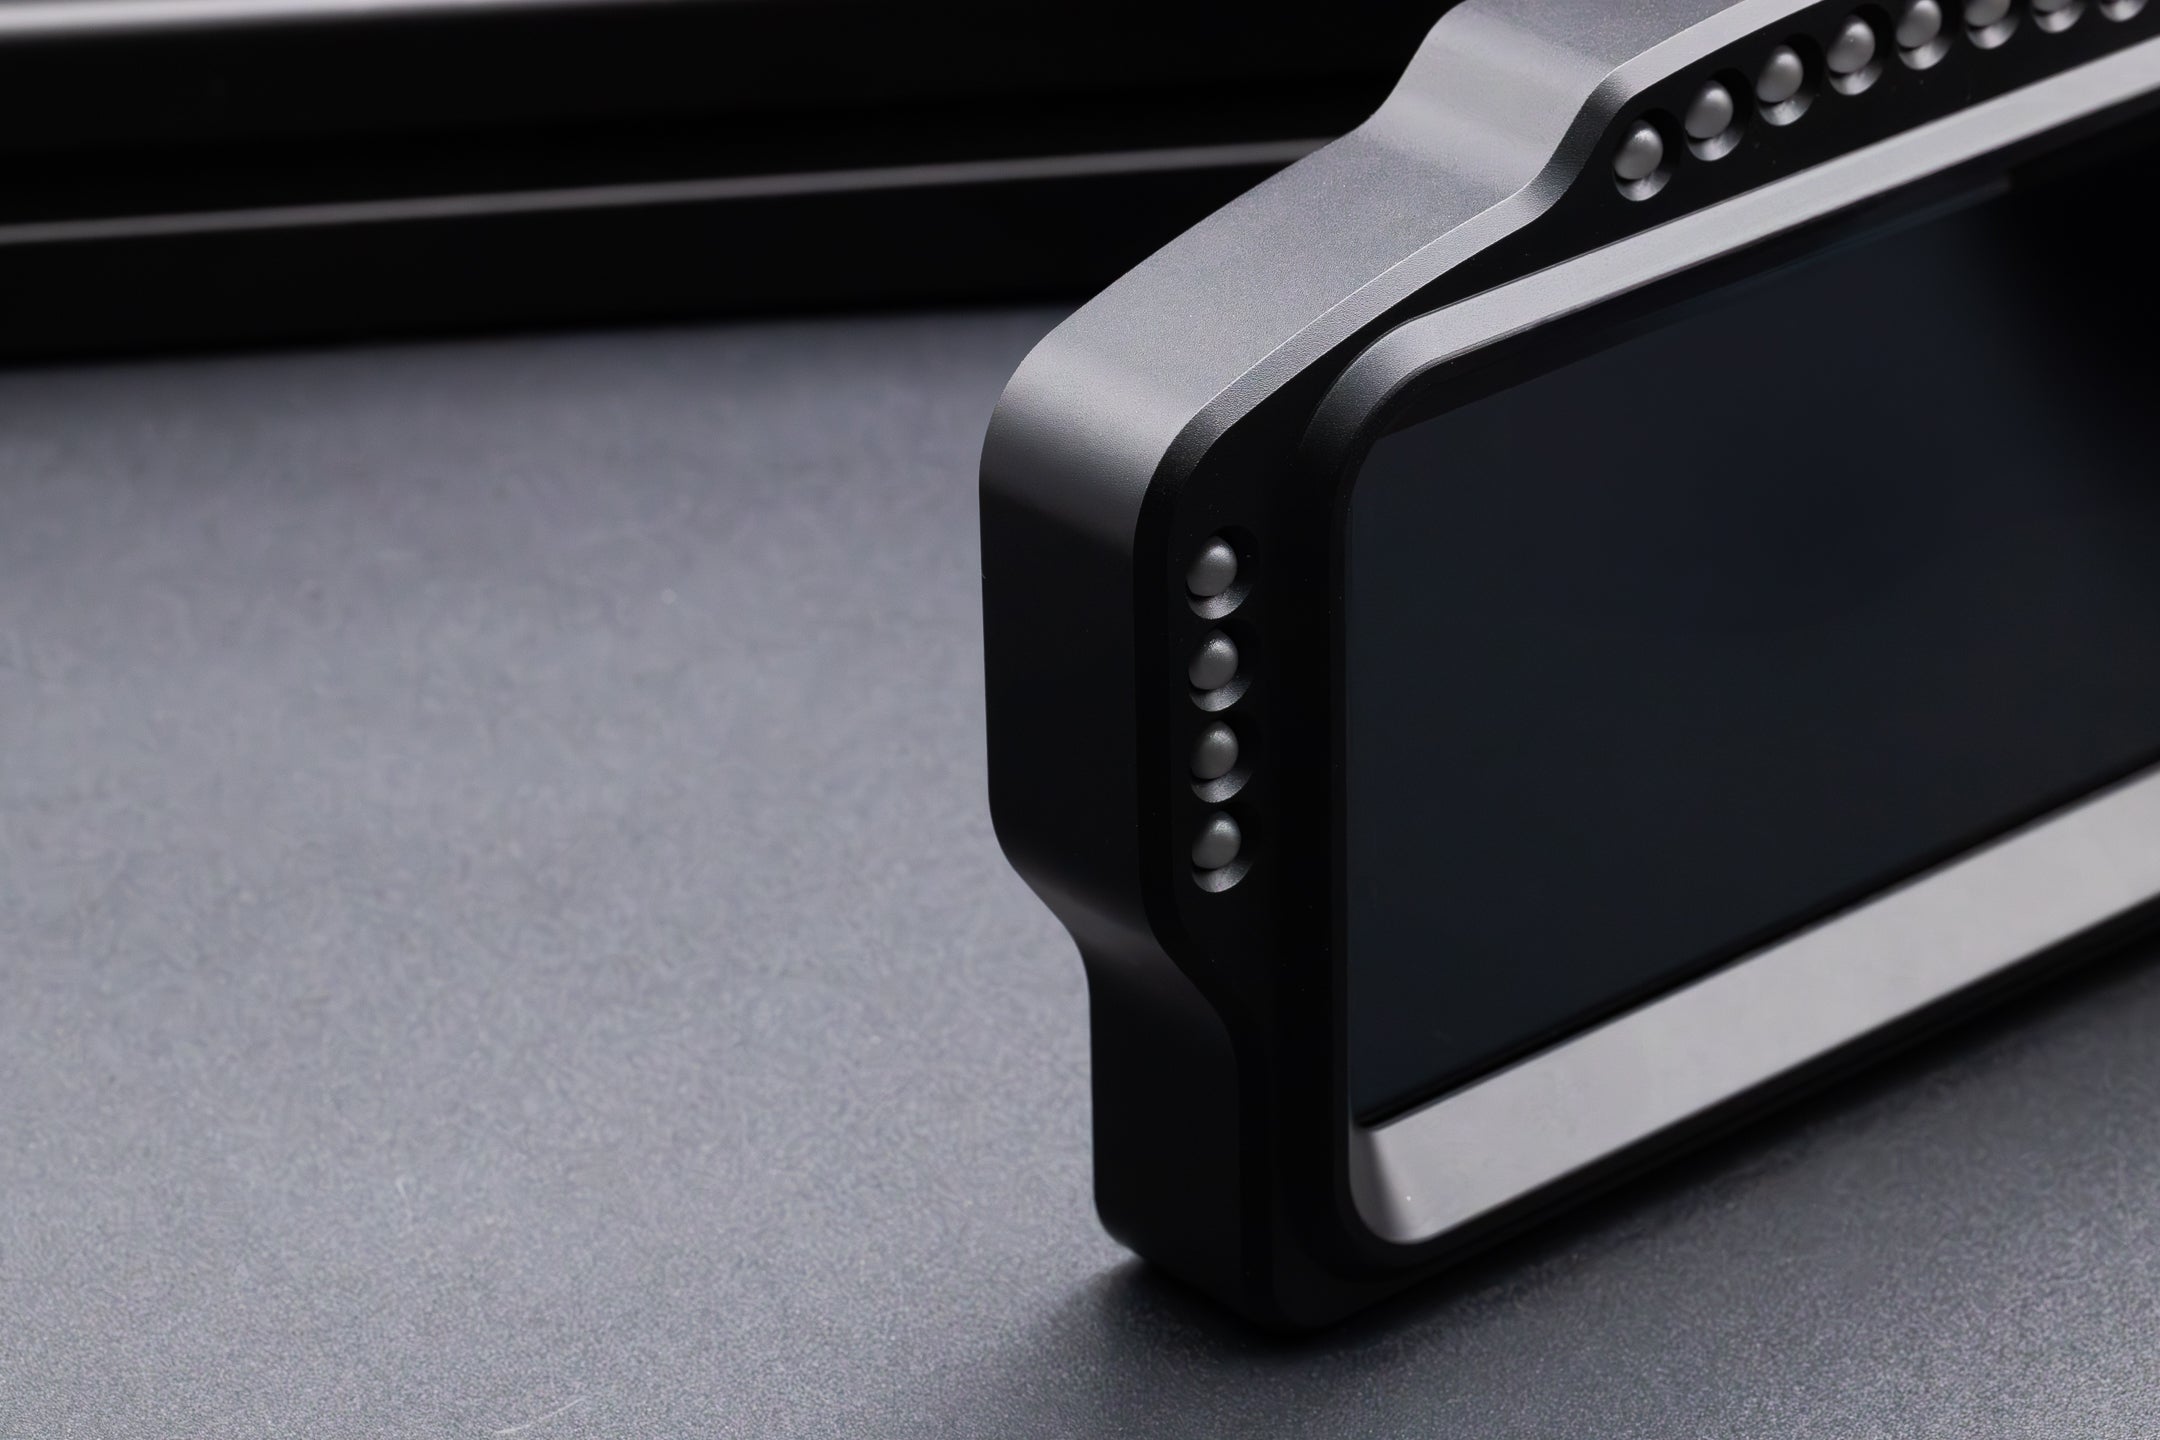
- SSG Dashboard Display DV-8 in a CNC machined aluminum enclosure
- USB-A to USB-C cable
- Mounting hardware
- DNR Premium access code card
Keep your DNR access code card handy. You will need it in section 4.
2. SimHub setup
Download and install SimHub. Download the latest version from simhubdash.com and run the installer.
Connect the DV-8 to your PC. Plug the included USB cable into the DV-8 and into a USB port on your computer. Use a port directly on your motherboard rather than a hub for the most reliable connection. No HDMI cable or external power supply is needed.
-
Open Dash Studio. Launch SimHub and click Dash Studio in the left sidebar. The DV-8 appears as a connected screen device.
Screenshot placeholder: Dash Studio with the DV-8 detected
-
Set the screen resolution. Select the DV-8 in the device list and set the resolution to 1280 x 400. This is the native ultra wide resolution of the DV-8. Enable the option to start the screen automatically with SimHub.
Screenshot placeholder: SimHub screen settings at 1280 x 400
Load an ultra wide dashboard. The DV-8 uses ultra wide templates. Standard 16:9 dashboards will not fit correctly. Choose an ultra wide template or use the DNR templates from section 4, which are built specifically for the DV-8.
Test with your simulator. Launch your sim and join a session. Telemetry appears on the DV-8 right away.
3. LED light modes
The DV-8 has 20 RGB LEDs with two control modes. SimHub Mode ties the LEDs to game telemetry for shift lights, flags, and warnings. App Control Mode lets you run ambient lighting effects from the iOS and Android app when you are not racing.
-
Configure SimHub LED output. In SimHub, open the Arduino section and select your DV-8. Map the 20 LEDs to your preferred functions such as shift indicator RPM bands, flag colors, and low fuel warning.
Screenshot placeholder: SimHub LED configuration for the DV-8
Install the companion app. Search for the SSG DV-8 app on the iOS App Store or Google Play Store. Open the app and it will find your DV-8 automatically.
Switch between modes. Use the mode button on the DV-8 or the app to toggle between SimHub Mode and App Control Mode. The DV-8 must be in SimHub Mode for race flags and shift lights to work during a session.
4. DNR profile setup
DNR Premium dashboards are included free with every DV-8 and are built for its 1280 x 400 ultra wide display.
Create a DNR account. Register on the DNR website with your email address.
Redeem your access code. Log in, open the redeem code section of your account, and enter the code from the card included in your DV-8 box.
-
Download the DV-8 dashboard pack. In the DNR dashboard library, search for SSG DV-8 and download the ultra wide pack.
Screenshot placeholder: DNR library showing DV-8 dashboards
Import the profiles into SimHub. Extract the download. In Dash Studio, click Import and select the dashboard files. Apply your chosen DNR dashboard to the DV-8 screen. The layout fills the full display edge to edge.
Import the matching LED profile. DNR also provides LED profiles that match each dashboard. Import the LED profile in the SimHub Arduino section for matched lighting behavior.
5. Troubleshooting
The display looks stretched or cropped.
Confirm the resolution in SimHub is set to exactly 1280 x 400 and that you are using an ultra wide template.
The LEDs do not respond during a session.
Make sure the DV-8 is in SimHub Mode and that your LED mappings are configured in the SimHub Arduino section.
The app cannot find the DV-8.
Your phone and PC must be on the same network. Check that your router does not have AP isolation enabled.
Still stuck?
Contact us with your order number and we will help you out.
Related: DV-5 Quick Start Guide · DF-8 Quick Start Guide · DV-8 product page
SSG Flag Box Display DF-8 Quick Start Guide
This guide explains how to set up your DF-8 with SimHub and install DNR profiles for both Single and Duo flag configurations.
In this guide:
- 1. What's in the box?
- 2. SimHub setup
- 3. DNR profile setup for a single flag
- 4. DNR profile setup for duo flags
- 5. Troubleshooting
1. What's in the box?
Single configuration:
- 1 SSG DF-8 Flag Box Display
- 1 USB-A to USB-C cable
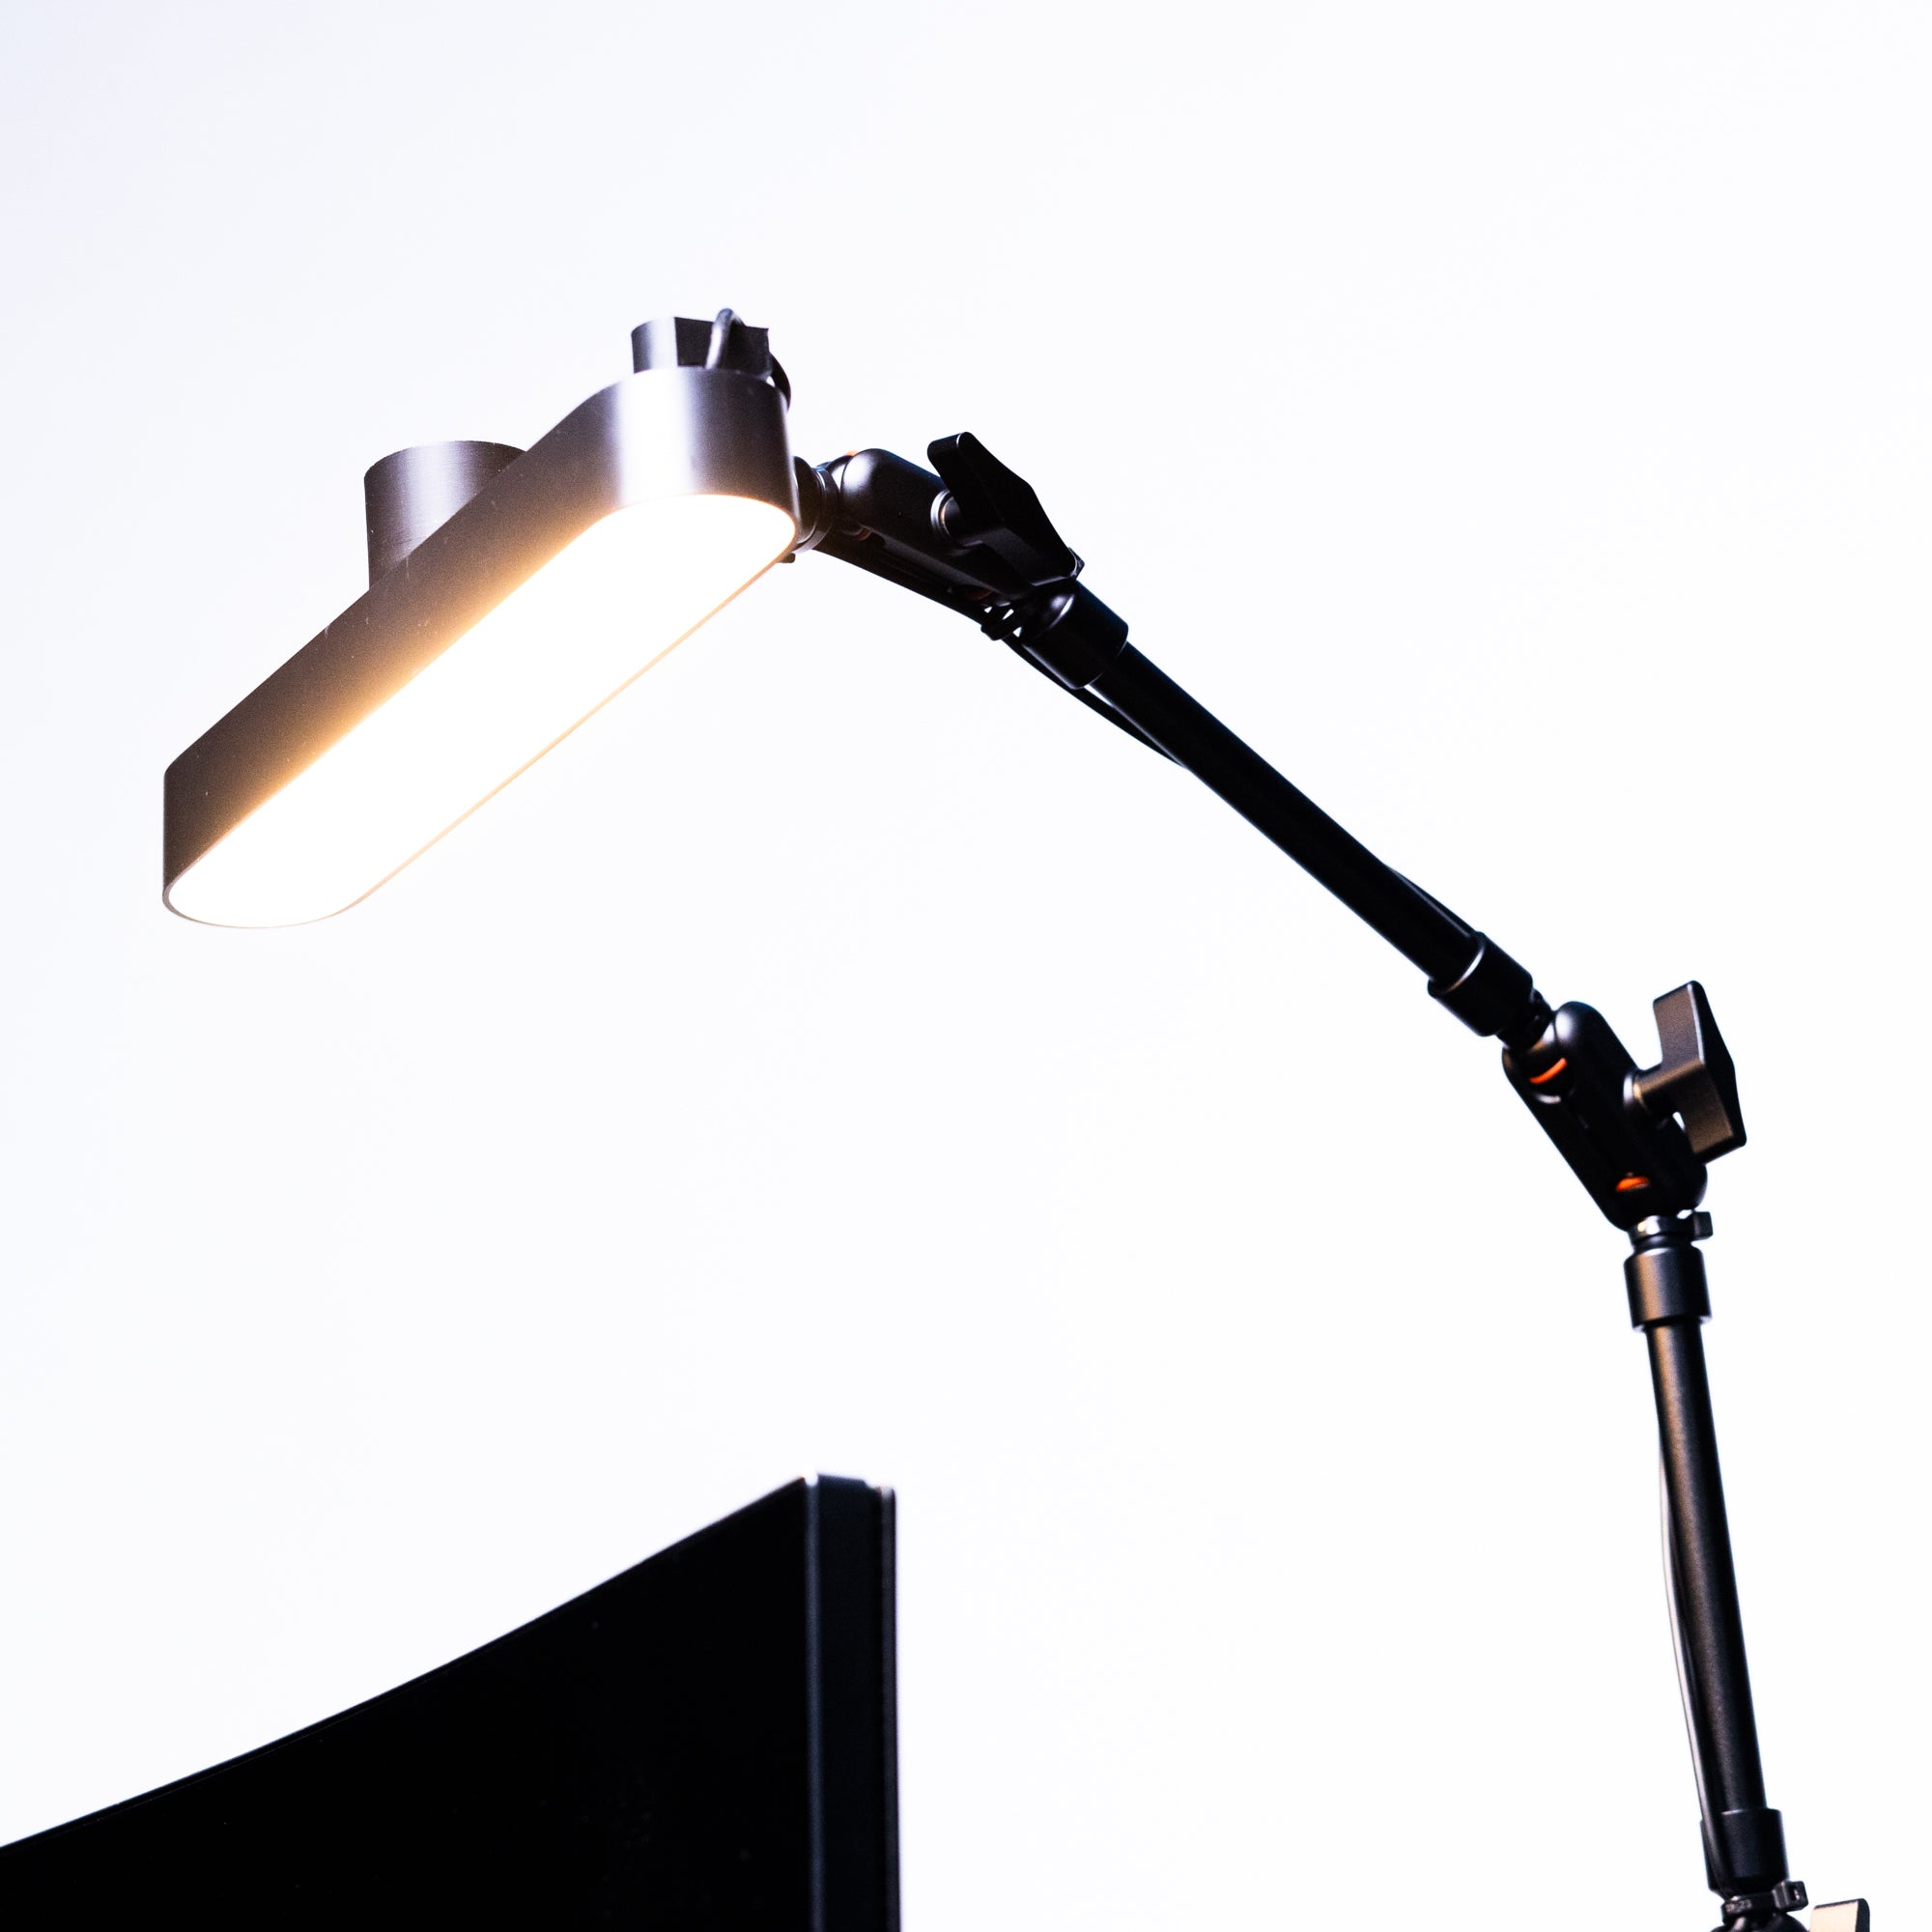
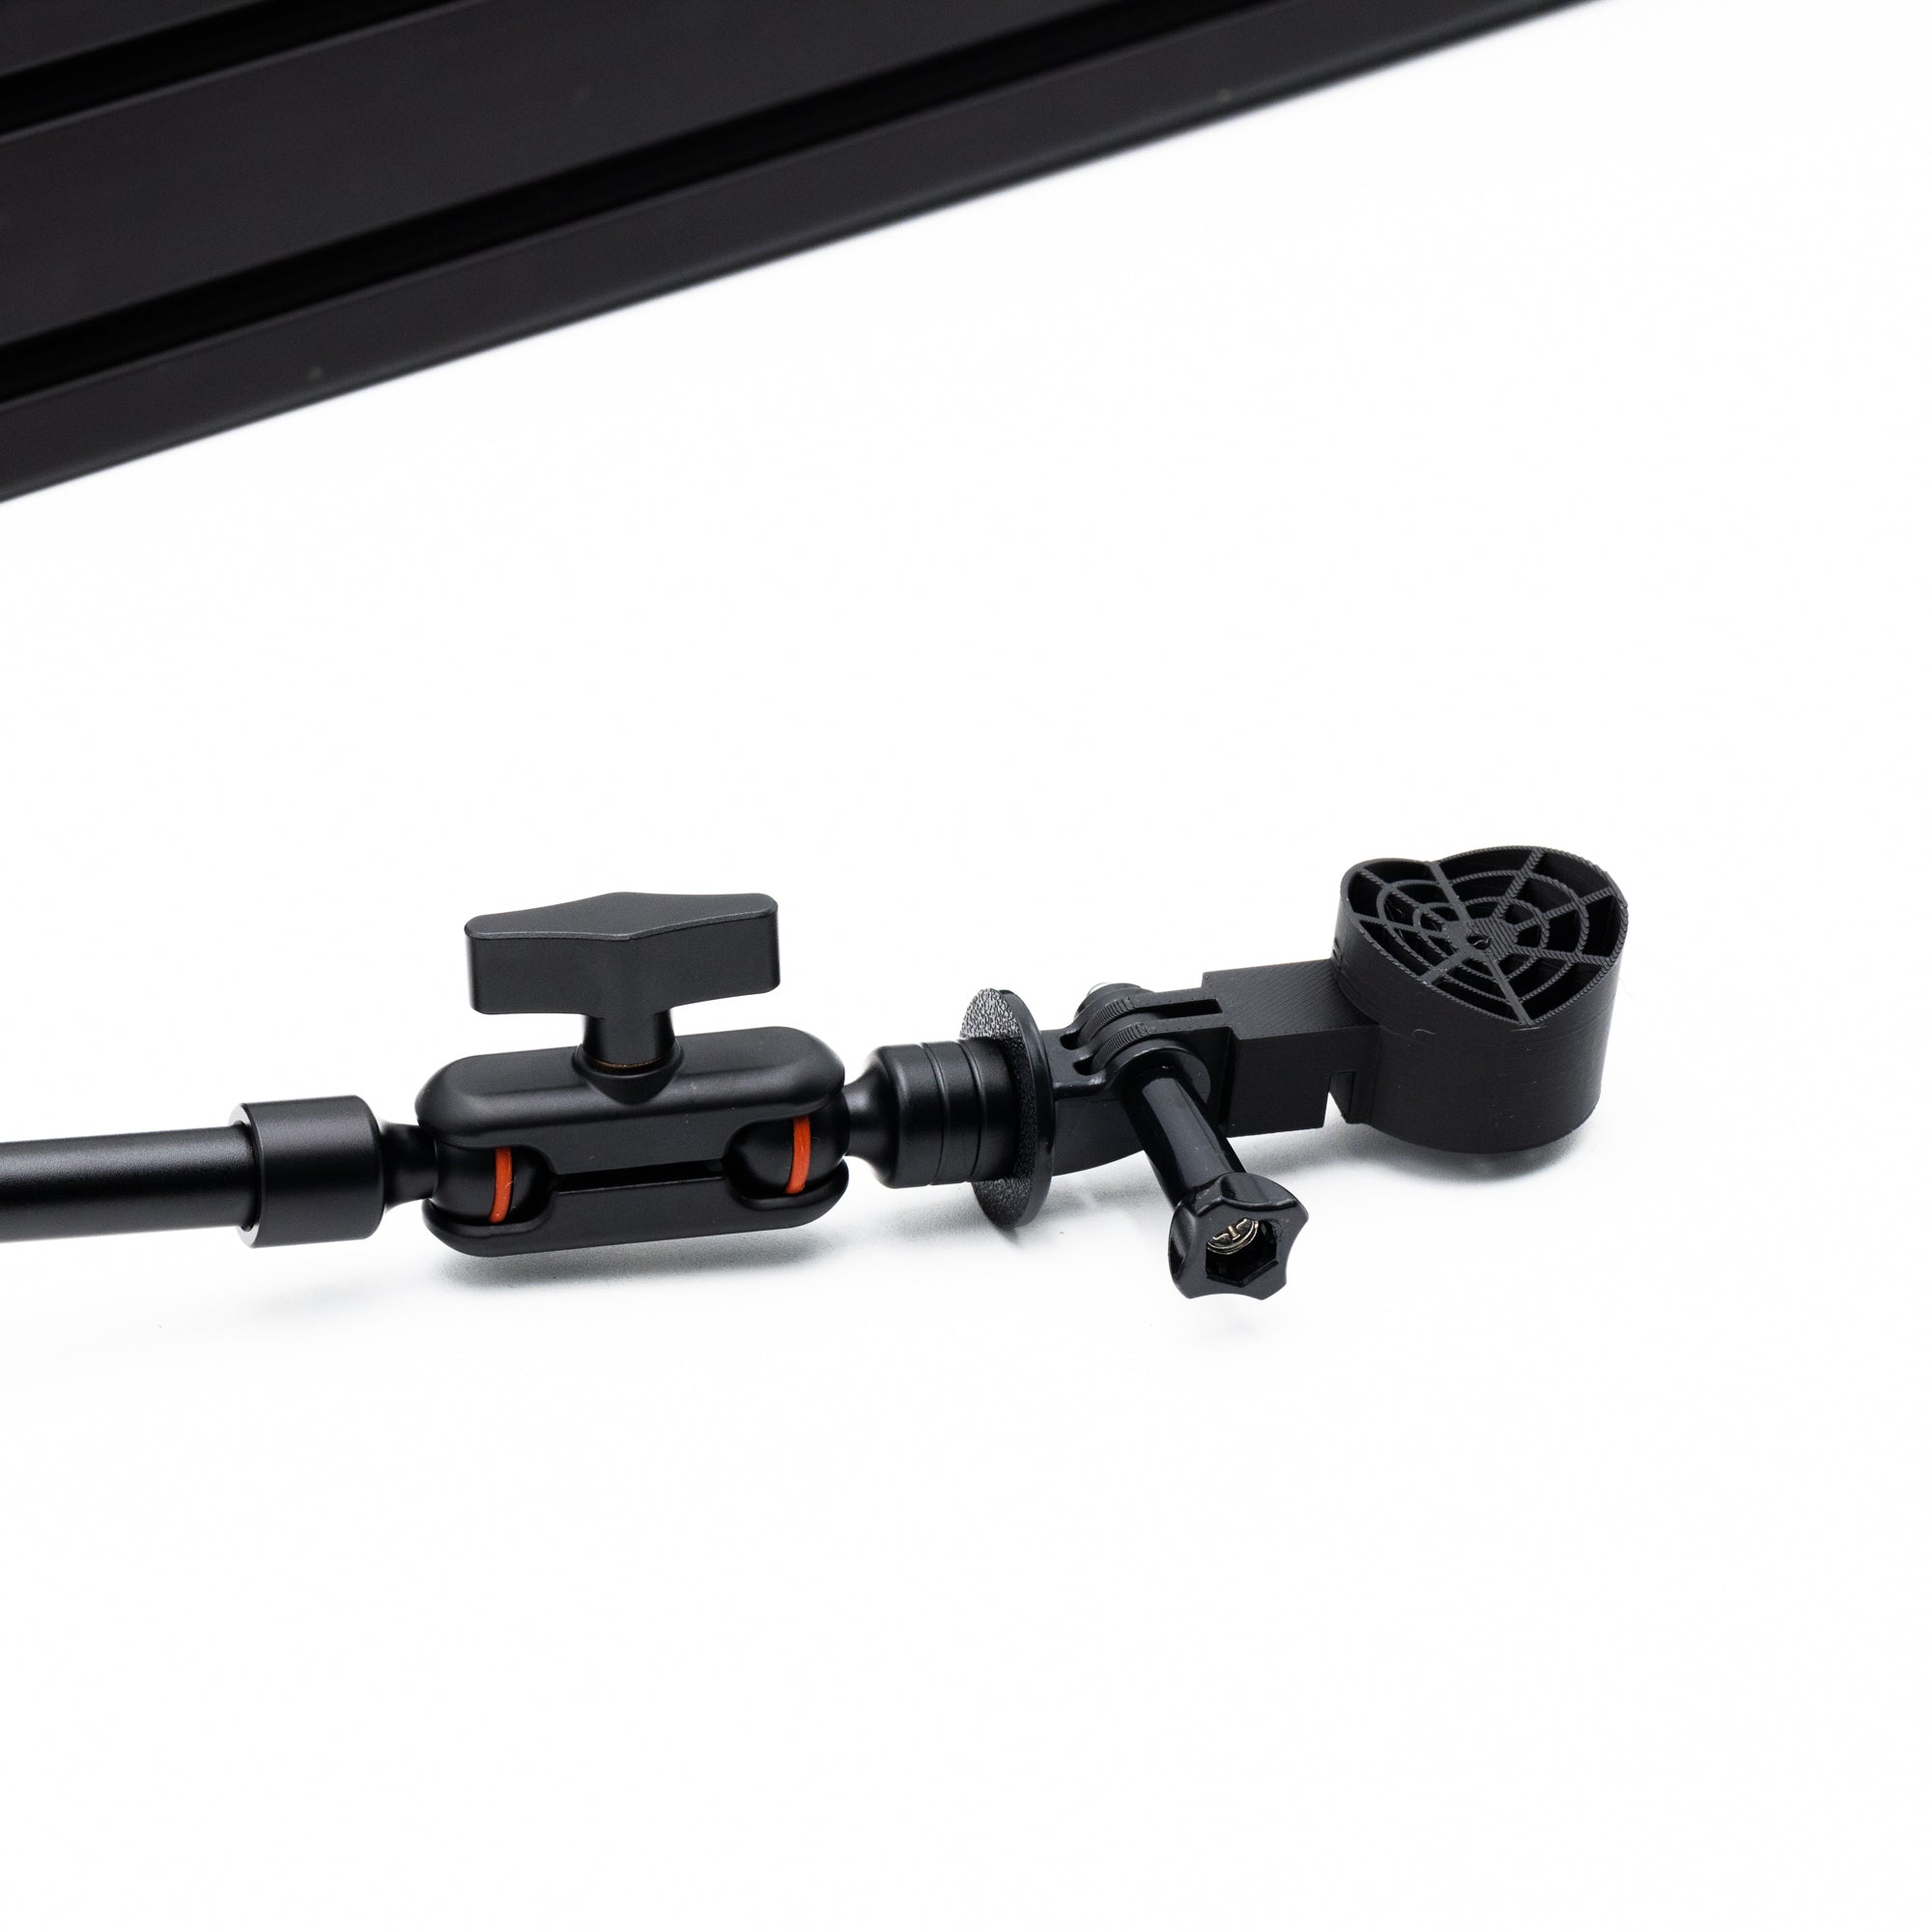
- Swivel mount with hardware. Standard, 3 inch, or 6 inch Premium Arm depending on your variant
- DNR Premium access code card
Duo configuration:
- 2 SSG DF-8 Flag Box Displays
- 2 USB-A to USB-C cables
- Mounting hardware for both units
- DNR Premium access code card
Keep your DNR access code card handy. You will need it in section 3.
2. SimHub setup
Download and install SimHub. Download the latest version from simhubdash.com and run the installer.
Connect the DF-8 to your PC. Plug the USB cable into the DF-8 and into a USB port on your computer. For Duo setups, connect both units to separate USB ports before launching SimHub. Do not use a USB hub.
-
Find the DF-8 in SimHub. Open SimHub and go to the Arduino section in the left sidebar. The DF-8 appears as a connected device. Duo units each show their own COM port.
Screenshot placeholder: SimHub Arduino section with the DF-8 detected
-
Map the flag functions. In the DF-8 configuration, map the display outputs you want: yellow flag, blue flag, red flag, green flag, white flag, pit limiter, gear display, and low fuel warning.
Screenshot placeholder: flag output configuration
Enable the proximity spotter. Turn on the proximity spotter in the DF-8 configuration and set the alert distance. A threshold of 3 to 5 meters works well for most cars.
Test with your simulator. Launch your sim and join a session. Trigger a yellow or blue flag situation and confirm the DF-8 lights up in the matching color within a second.
3. DNR profile setup for a single flag
DNR Premium flag profiles are included free with every DF-8. They include calibrated flag colors, animation timing, and dark mode presets.
Create a DNR account and redeem your code. Register on the DNR website, open the redeem code section of your account, and enter the code from the card in your DF-8 box.
-
Download the DF-8 Single profile pack. In the DNR profile library, search for SSG DF-8 Single and download the pack. It contains profiles for all major simulators.
Screenshot placeholder: DNR library showing the DF-8 Single pack
Import the profile into SimHub. Extract the download. In the SimHub Arduino section, click Import profile and select the file that matches your simulator. Apply it to your DF-8.
Set up dark mode if you want it. The DNR profile includes 4 preset dark mode color schemes plus 1 customizable slot for night driving and endurance sessions. Enable it in the profile settings.
4. DNR profile setup for duo flags
This section applies to the Duo configuration only. If you have a single DF-8, skip to section 5.
-
Confirm both units are detected. Both DF-8 units must appear in the SimHub Arduino section, each on its own COM port. Write down which port belongs to which physical unit. A small piece of tape on each unit helps during setup.
Screenshot placeholder: two DF-8 units on separate COM ports
Download the DF-8 Duo profile pack. In the DNR library, search for SSG DF-8 Duo. The pack contains a Left profile and a Right profile. The Left unit handles flags and the spotter, and the Right unit handles gear, fuel, and telemetry.
Apply the Left and Right profiles. Import both files into SimHub, then assign the Left profile to the left unit COM port and the Right profile to the right unit COM port.
Verify the split. Join a session and confirm the left unit shows flag and spotter information while the right unit shows gear and fuel. If they are swapped, reverse the profile assignments in SimHub.
Match your dark mode. Dark mode is set per unit. Apply the same preset to both units so they stay visually consistent.
5. Troubleshooting
Flags are not triggering.
Check that SimHub supports and detects your simulator. Some titles need a plugin from the SimHub website. Confirm the flag outputs are mapped in the Arduino section.
One unit in a Duo setup is not responding.
Check that both COM ports are active in Windows Device Manager. Unplug and reconnect the silent unit, then reselect its COM port in SimHub.
The display flickers or resets mid session.
This is usually a USB power issue. Move the cable to a port directly on your motherboard and avoid hubs and front panel ports.
The proximity spotter triggers too often.
Increase the alert distance in the DF-8 configuration. Around 5 to 8 meters suits most racing.
Still stuck?
Contact us with your order number and your configuration, Single or Duo, and we will help you out.
Related: DV-5 Quick Start Guide · DV-8 Quick Start Guide · DF-8 product page